Apple has recently released the feature enabling users to use a custom domain’s email with iCloud Plus.
This blog post has been developed to act as a guide on how to set up the custom domain for mail service with iCloud.
With this feature, you can create, manage and host your emails and email accounts with Apple’s iCloud service.
Before I take you into the main part of setting up, let me share with you what is needed to be able to use your custom domain for an email in iCloud.
What do you need to use custom domain with email in iCloud plus?
Apple’s Custom Email Domain feature is only available to an active iCloud+ subscription. What this means is you need to be a subscriber of Apple One to be able to use this service. If you have a paid iCloud storage plan then also you can use this service.
- you must be a subscriber of Apple One subscription service from Apple or
- have an active iCloud storage plan
- a domain and ability to add and modify DNS records
Stuffs you need to know
While this feature is exciting and instigating to try, there are some things you need to be aware of:
- you can add upto five custom domains and upto three email address per domain
- you need to visit web version to setup or add email addresses to your mail account, same for family members
- while you can receive email on the new custom domain email address, you can’t send from the address unless you have the iOS 15, iPadOS 15 or macOS 12
- there is no easy way to import your previous emails associated with your mail address
- you need to have a domain to use as a custom domain, you can’t buy or get a new domain from iCloud
How to setup custom domain email in iCloud plus
Setting up your domain’s email with iCloud plus is fairly easy and straightforward. Apple takes you through an instructive setup process making it easier to set up if you haven’t done it previously.
Video tutorial
I have created a detailed walkthrough video on how to setup your domain for using email services via iCloud. Scroll below for text-based instructions.
Step by step setup instructions
To start the setup process, go to icloud.com from your browser and follow the steps described below.
- open up the iCloud settings and scroll to find Custom Email Domain
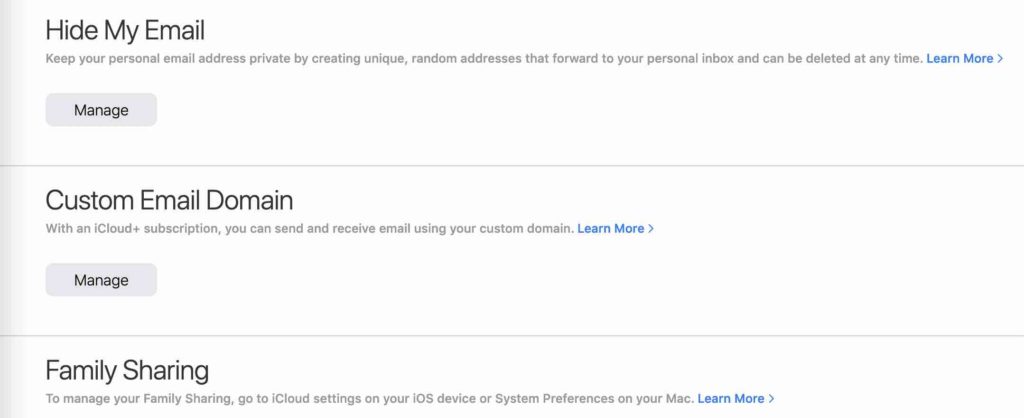
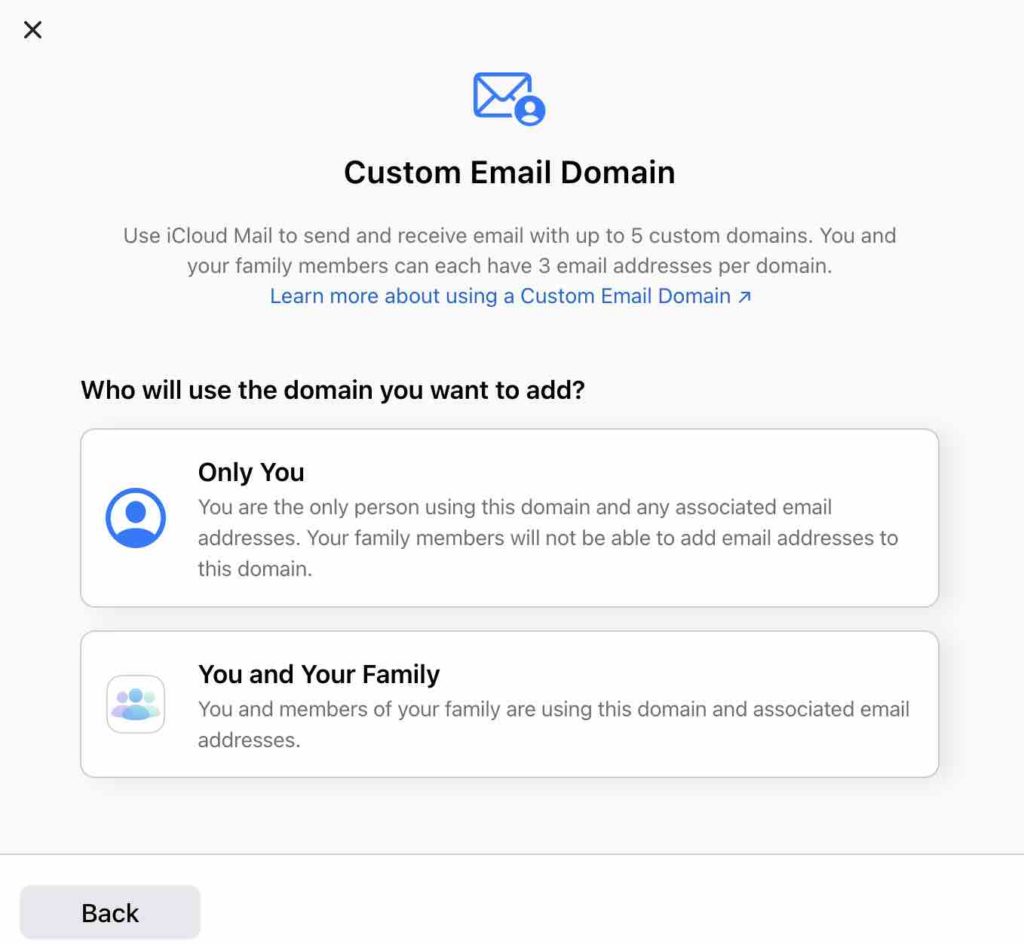
- select who will be using the custom email domain. Choose You if you are the only user and choose You and your family if your family member will be also using the the same domain and associated email addresses.
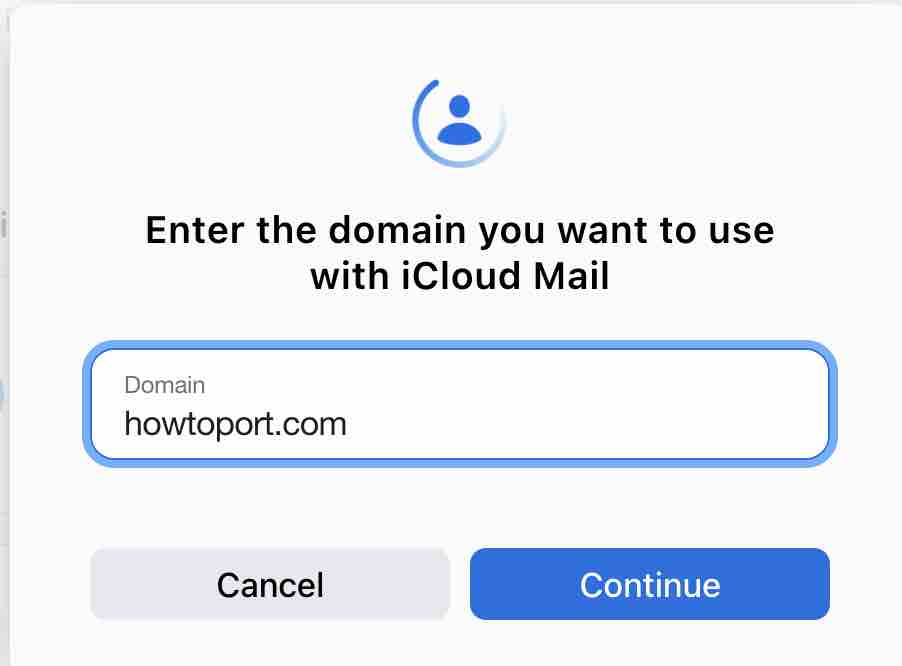
- add the domain name you would like to connect to icloud’s custom email domain service
- if you have existing email addresses that you would like to associate with icloud add in this step
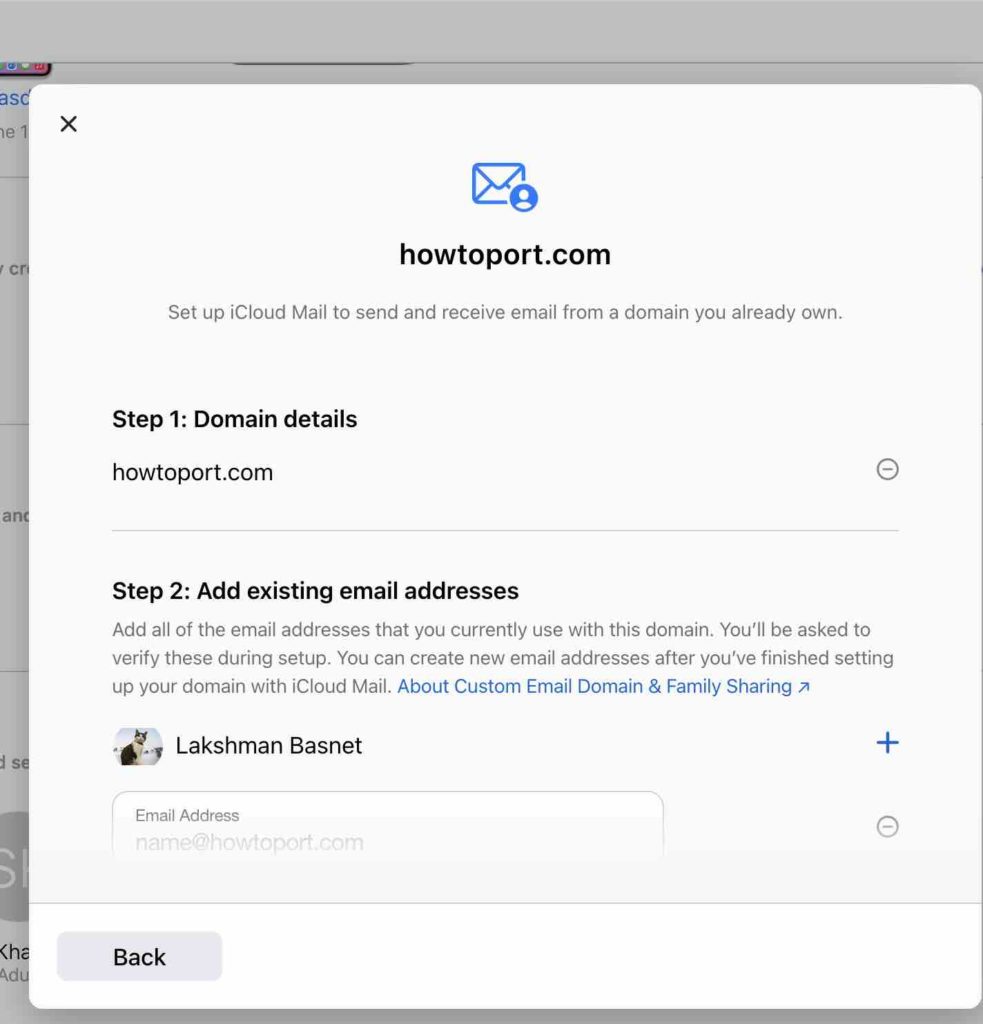
- confirmation email will be sent to the previous email addresses if you added any
- you will also notice that you might receive a pop up notification to add the email address you just setup to Facetime and iMessage
- you can skip and create new email addresses later after finishing the setup process as well
Updating your domain registrar’s settings
In this step, apple instructs us to connect and point our domain name to the cloud’s address. Remember this will only point to the email mapping.
You can find the detailed instructions for setting up and existing domain iCloud mail here in this support article.
We need to update or add three DNS records: MX, TXT, and CNAME records.
A mail exchanger record – MX record directs email to mail server where it has to be delivered, TXT record allows you to add text-based records. Adding a TXT record in DNS settings helps to prevent email spam and to verify domain ownership.
CNAME is used to point a domain to a particular the same IP address but with a variation of the same domain name.
For this, you will have to log in to your domain registrar’s dashboard and navigate to DNS settings. You can also edit these records via Cloudflare’s DNS settings if you have already added your website to Cloudflare. Remember to copy the same values as provided included the trailing “.”.
Check this tutorial about adding DNS records with Cloudflare
Adding a MX record
Icloud asks us to create two MX records with the value mx01.mail.icloud.com and mx02.mail.icloud.com.
In the host field of your DNS record, you can leave blank or write @ or the actual domain. In the value add one of the MX records and another one in next. Set priority value to 10 and TTL time for execution to lowest or the one you desire.
For me, this is what it looks like after I have added both MX records on my Cloudflare’s DNS.

Adding TXT records
We need to add two TXT records as asked by the iCloud configuration. The first one is with your personal TXT record which contains your unique TXT record. The second one is for v=spf1 redirect=icloud.com.
As said above, in the host field of your DNS record, you can leave blank or write @ or the actual domain. In the content or value of the text record, provide the text records provided by iCloud.
This is what it looks like in my case.

CNAME record setup
The final part is adding a CNAME record. We have to add a CNAME record with host value of sig1._domainkey and target or pointing to sig1.dkim.yourdomainhere.com.at.icloudmailadmin.com.

Verifying domain setup
Confirm that you have added all records as instructed.
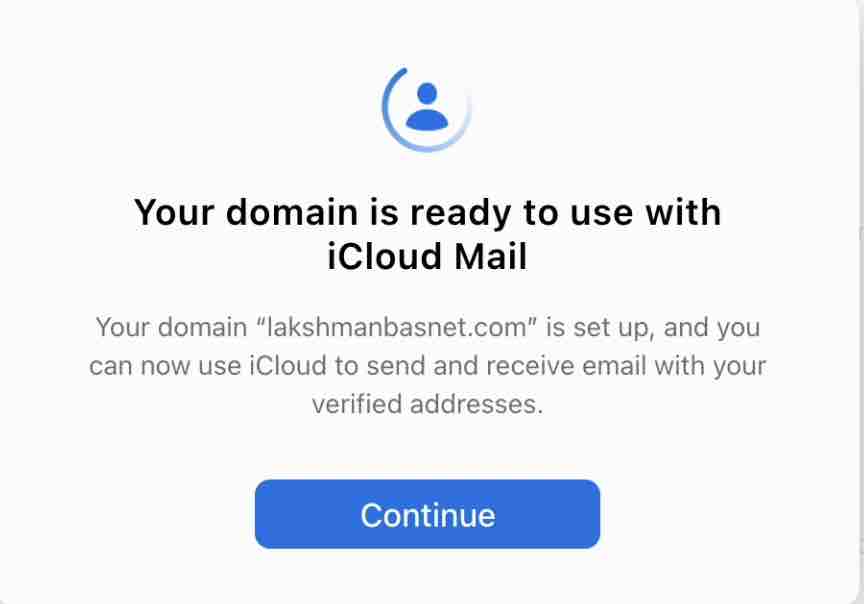
If the setup was successful, you will be given a successful message, else the configurator will suggest to you what has gone wrong and what you have to do to make it work.
I hope you were able to set up your website domain to iCloud as a custom domain.
Do you think this custom email domain service from Apple will be the best selling feature?
I am curious to know what you think about this feature. Let me know what you think in the comment section below.
Using your new email account with iCloud
Once you have configured your email accounts for your custom domain to be used with your iCloud, there are a few simple things to do so that you can fully use your new email service.
There are multiple ways of accessing your iCloud mail.
- you can login to iCloud mail at icloud.com/mail and use the web based mail app
- for the devices signed in with your apple id, you can use the new email addresses from the mail app
To be able to fully use Apple’s mail service, you need to make sure you have enabled it in your Apple devices, otherwise, you mightn’t be able to select send from address to the new email address
- on MacOS, go to system preferences then click on apple id ad top right, and enable the Mail option
- on iOS devices, open up Settings and tap on your account name at top and make sure mail is checked on from iCloud menu
- for Windows devices, please check this support article
Quickest summary
Now it is possible to add your domain to your iCloud mailbox as a custom domain name. You will have to have a paid iCloud storage plan or be on an Apple One subscription. Domain’s DNS records need to be pointed to the iCloud mail server and a few settings should be done at iCloud. You can add up to three email addresses and also share the domain’s email addresses with your family members connected to iCloud.
FAQs
Yes, you can use your domain with iCloud for email service. Please check this guide for more.
In iCloud, you can add a domain you already own.
Yes you can point a domain name you have to iCloud, you will have to add DNS records to point your domain name to iCloud‘s address.
iCloud or apple doesn’t provide the option of buying a domain but you can add a domain you have to iCloud as a custom domain or buy a new domain from domain registrars like Namecheap, Godaddy.
You can add up to five (5) custom domains and up to three email accounts per domain with iCloud Plus custom email domain.
Thank you! You helped me when my web host provider could not! Thanks so much!
Very clear. After banging about between WordPress and Apples support pages off and on for a few weeks this ancient noob was finally able to parse the input boxes and differing label names (for the same things) and it got past the inexplicable error message 🙂 …
Hi Troy,
Thank you for the comment.
I wasn’t aware that there were solutions like catch-all email addresses. Seems interesting.
I found this from an apple forum: https://discussions.apple.com/thread/253170404
I haven’t tried it myself yet, I will reply to this thread in the future once I am successful.
Cheers
Great article! Do you have any idea if it’s possible to set up a catch-all email address with iCloud+? or with my domain host? When I choose custom MX servers, their catch-all option goes away.
Many thanks! Troy