Are you looking for a quick yet easy guide on setting up your preferred custom domain name to your Heroku application or website?
This how-to tutorial is going to be your ultimate friend for you!
Yes!
Believe me, the method explained here in this blog post is the most convenient, quick and easy way of adding a custom domain to your Heroku app.
Wondering how this method could be the easiest?
It is because we will be using the Heroku’s app settings to add the custom domain instead of going through the CLI – meaning through the command line. No need to use terminal for this.
And one more thing I need to mention here is, before writing this blog, I published a video on YouTube on this exact same topic and over 50,000 people have already watched it and a lot of people have commented this method to be very helpful for them. You might want to check this out.

How to add a custom domain name to my Heroku app?
There is one important step which needs to be done so that Heroku can allow us to add domain names to our account.
It is verifying our Heroku account.
Get $100 Credit on DigitalOcean. Join Now!
First: verify your Heroku account
Verifying Heroku account is easier than you think!
- Just go to your account settings: https://dashboard.heroku.com/account/billing
- Add a payment method/ credit card in the billing information
- adding a payment method is just for verification and you won’t be charged*
- in case you are charged $1 which is just for the verification, it will get automatically refunded later
To find out more about account verification, charges and how to unverify your Heroku account please visit this page.
Adding custom domain to Heroku app
I have found we can add domain names to the apps in Heroku in two major ways:
Using the Command Line Interface (CLI)
Domain names can be easily added to the Heroku apps via command-line using terminal or similar CLI applications.
Please check this official Heroku guide on using CLI for domain names.
In this guide, I will be talking about adding domain name by using the Heroku’s online dashboard – which is personally my favourite and preferred method.
Using the Heroku’s online dashboard
Okay, let us get started with adding domain name to your Heroku application.
Time needed: 2 minutes
- Login into your account
First things first, login to your heroku account. You can skip this step if you are already logged in.
- Select your Heroku app from the dashboard list
Now, we need to choose the app for which we will be applying the domain name. Just clicking on your app name will take you to the app page.


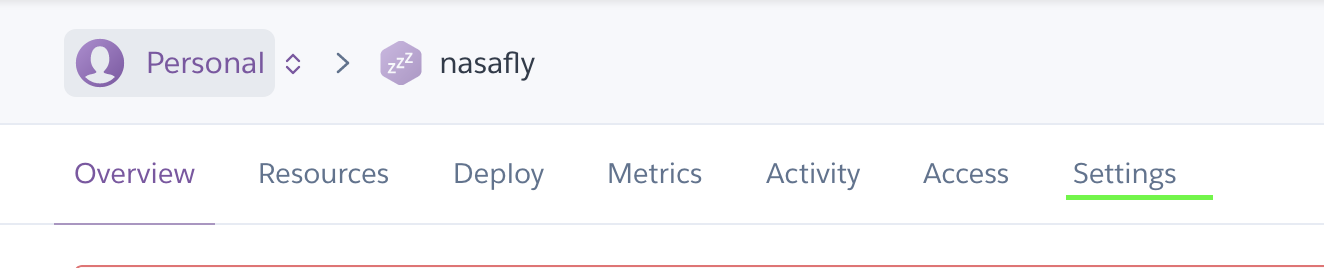
- Go to your app’s settings
Once your app’s dashboard is opened, if you look at the right you’ll see Settings tab, underlined below in green.
- Scroll down to find domain settings
In the Settings, please scroll down until you find domains section where you can see the current live URL of your app.
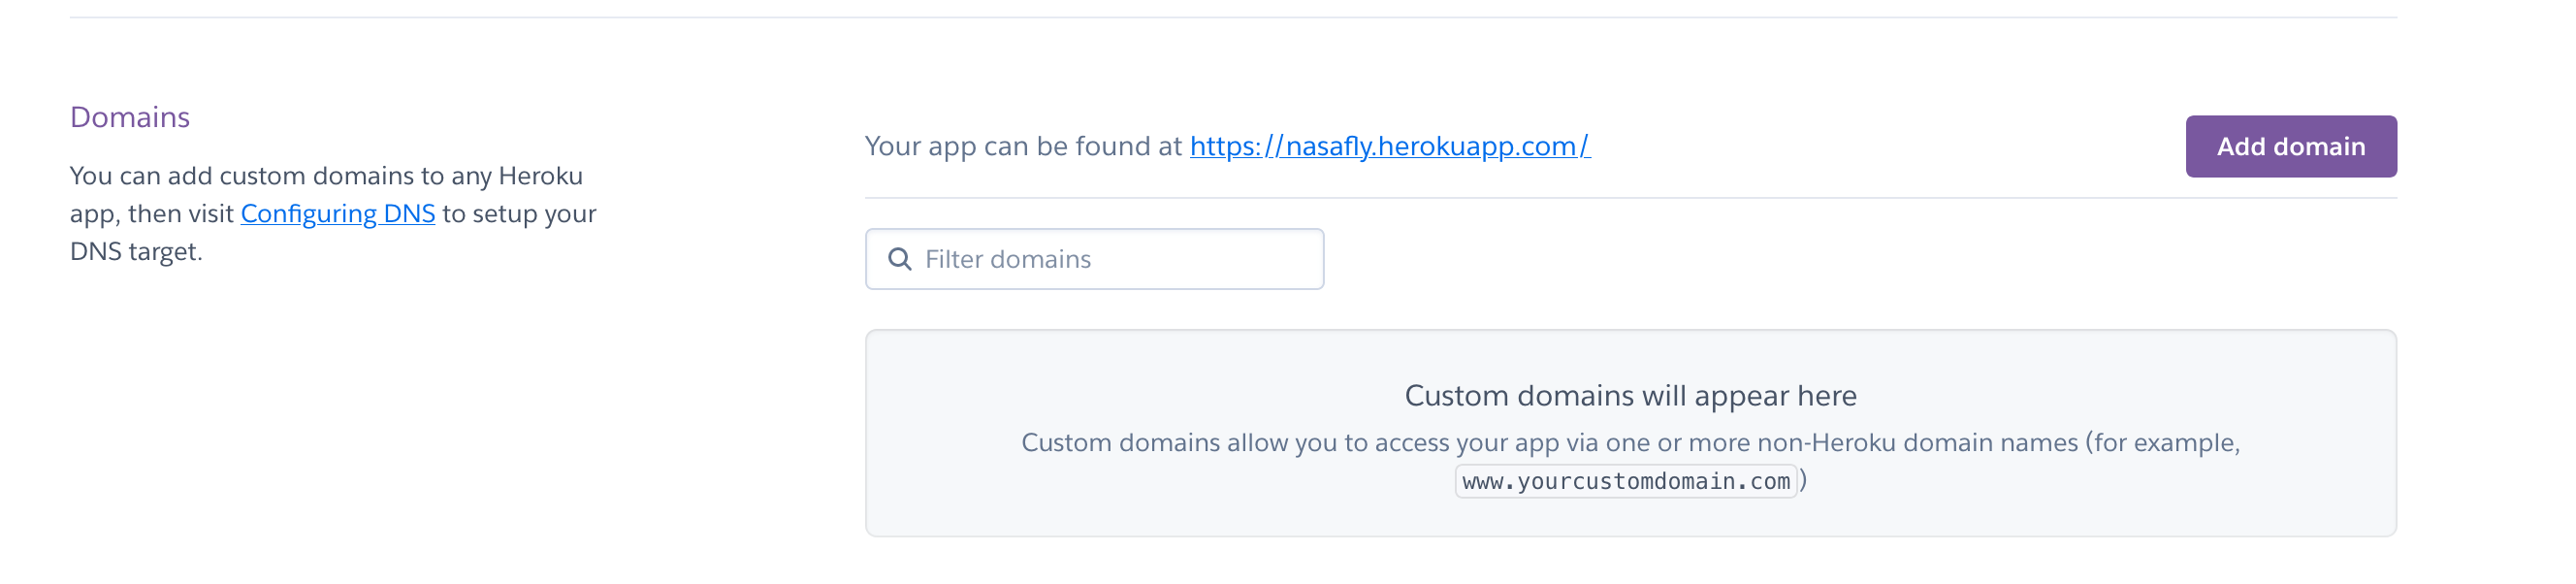
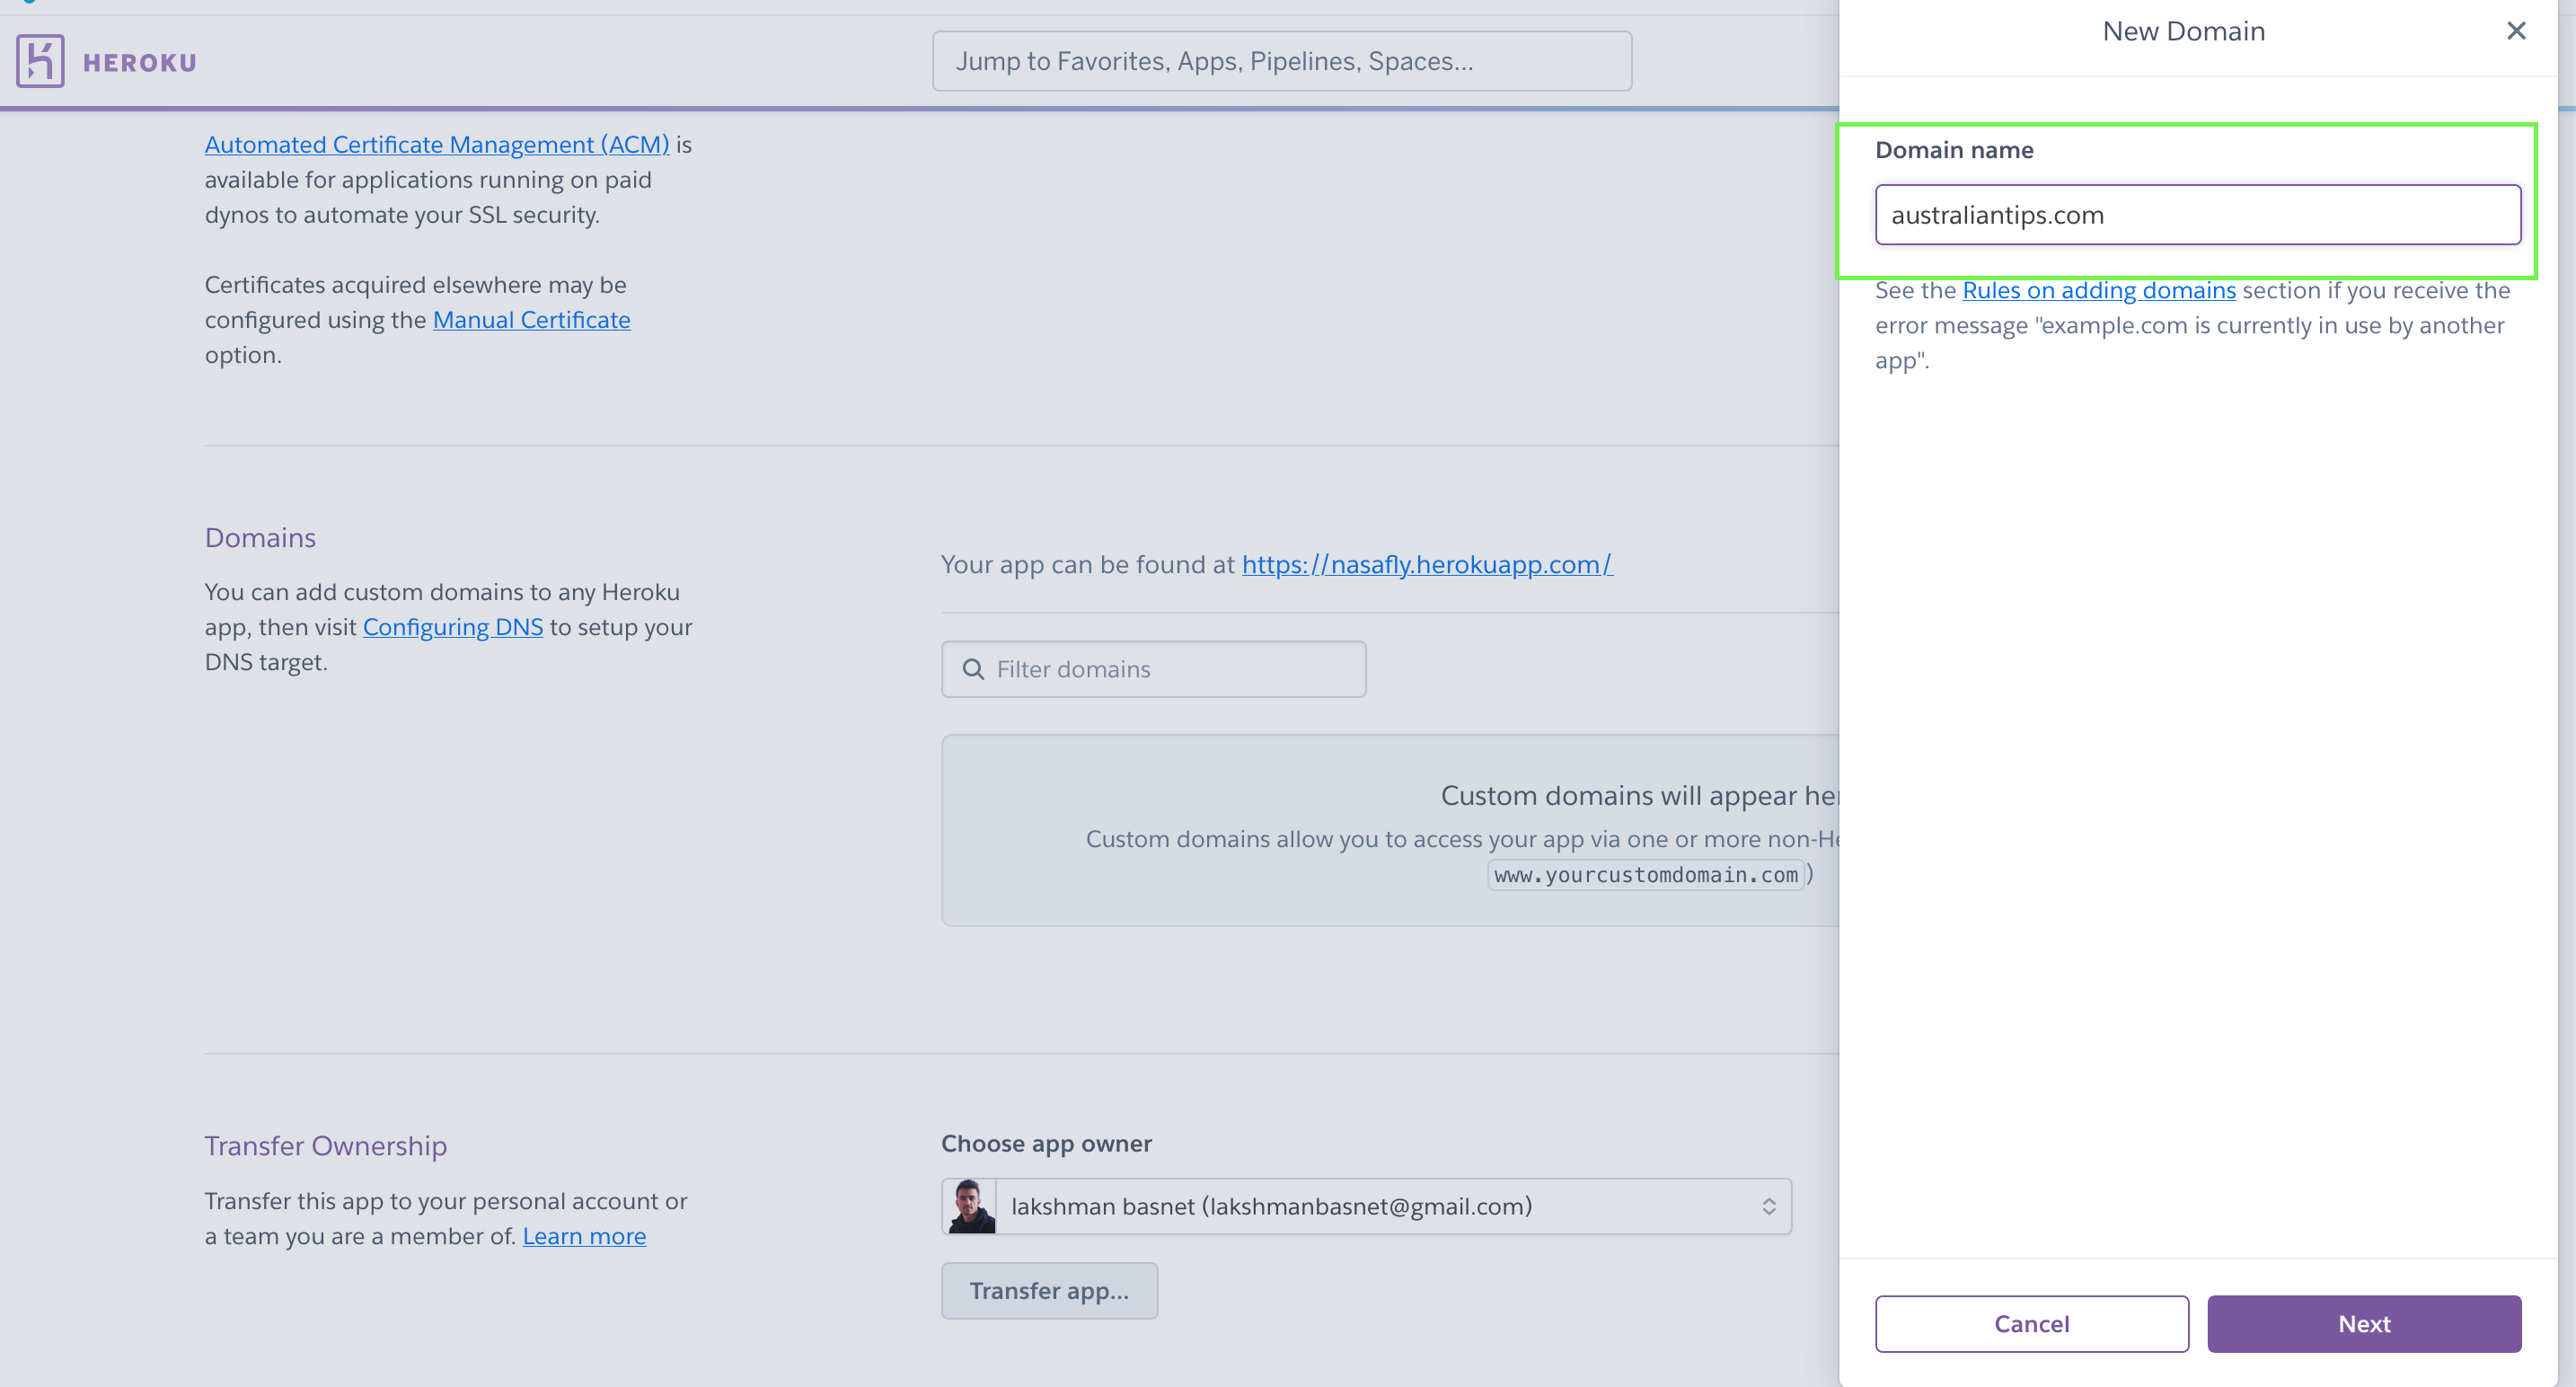
- Tap on Add domain and add your preferred domain name and submit by pressing next
To add a domain press on Add domain button and hit Next to continue.
- Copy the DNS target


- Add the DNS target to your domain settings
After you have copied the DNS target for your Heroku app, go to your domain registrar settings like your Namecheap, Godaddy account dashboard and open up the DNS settings page from where you can add and manage DNS like CNAME, A records etc.
In my case, I am adding via Cloudflare. You can add the DNS target as CNAME or as an A record.
You can specify the lowest TTL available to make DNS propagation quicker.

- DNS propagation may take some time
For the DNS changes to work, it might take some time.
Please visit https://devcenter.heroku.com/articles/custom-domains#configuring-dns-for-root-domains for more on Custom Domains.
After some time you will notice that your Heroku custom domain name is working well and your domain is pointing towards the Heroku app.
Grow your YouTube channel with TubeBuddy. Join Today!

What if I am getting an SSL error?
But you might be wondering at this stage that why your browser is still showing error to access your website saying unsecured connection – even though you can fully access the website without HTTPS.
There is a quick fix around this HTTPS scenario – using SSL certificates.
While you can fix easily by installing the SSL certificates – here again is another part to this:
- you can use your own/ free SSL certificates (called Manual Certificates) on Heroku apps but you need to be on paid Heroku plans (hobby and) as Heroku restricts the use of external SSLs to free accounts
- or you can use the Heroku’s Automatic Certificate Management which is again available to paid users only
So what is the solution if you are just trying around or want to install an SSL certificate on your Heroku app without paying?
– The answer is Cloudflare!
Using Cloudflare’s free SSL with Heroku custom domain
To use Cloudflare’s free SSL service with your Heroku application, first sign up to Cloudflare and add your website. Once your website has been added to your Cloudflare account please follow the following steps:
- Go to SSL/ TLS settings tab and set the encryption mode to flexible
The reason for setting to flexible is self-explanatory. - Now go to Edge Certificates tab and turn on Always Use HTTPS option
- It might take some time for the SSL setting to work.