Your ultimate curated guide on getting started with Plesk, setting up and configuring your web server with single or multiple website hosting, securing and scheduling auto backup.
This blog post is as simple it can be.
But rich enough to get you onboard, teach you how to Plesk and go live. Be you a beginner in Plesk with little to no knowledge of Plesk or someone looking for brushing up on your web-server skills, I am sure you will mark this guide as helpful. 🙂
The best part of this tutorial?
Who doesn’t like a video tutorial!
Every step in this series is covered by a dedicated video that I published just before on YouTube and has been already watched over thousands of time. You can find the full Plesk Series’ playlist on YouTube, linked below.
I am writing based on my personal experience of hosting multiple websites with Plesk server.
Up to 95% off selected domains at Namecheap!
What is Plesk?
In simple words, Plesk (plesk.com) is a web platform, a control panel with which you can manage and control your web hosting, automate and scale apps for personal and commercial purposes.
How much does it cost?
While you can use get the paid subscription of Plesk, this tutorial is developed based on the free Plesk service available for DigitalOcean.
We can use a 1-click version of Plesk on DigitalOcean for free up to 3 domains. (details here)
Want to join DigitalOcean?
For me, Plesk is my best friend, the ultimate GUI tool which makes the pain of web hosting management painless.
Now, let us get started with installing Plesk on our DigitalOcean server. While this tutorial is exactly the same for Plesk installed on any server platforms, I will be explaining installing Plesk on DigitalOcean in the first part.
If you haven’t got a DigitalOcean account yet, please sign up and continue following this tutorial.
Grow Your YouTube Channel with TubeBuddy. Join Today!

Installing Plesk and setting up with DigitalOcean
Installing Plesk on DigitalOcean droplet is fairly easy can all can be done through the DigitalOcean website online.
If you are installing Plesk on DigitalOcean droplet for the first time, please follow the steps outlined below:
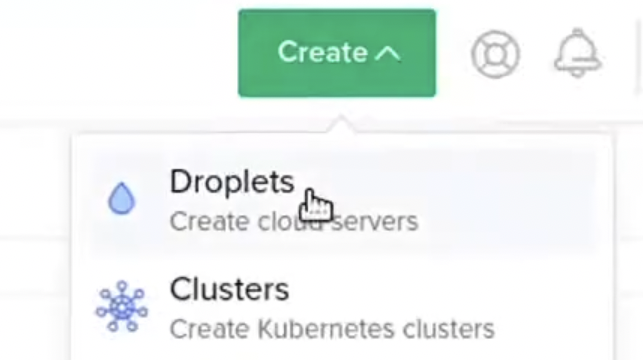
- Sign in to your DigitalOean account and tap on Create a Droplet

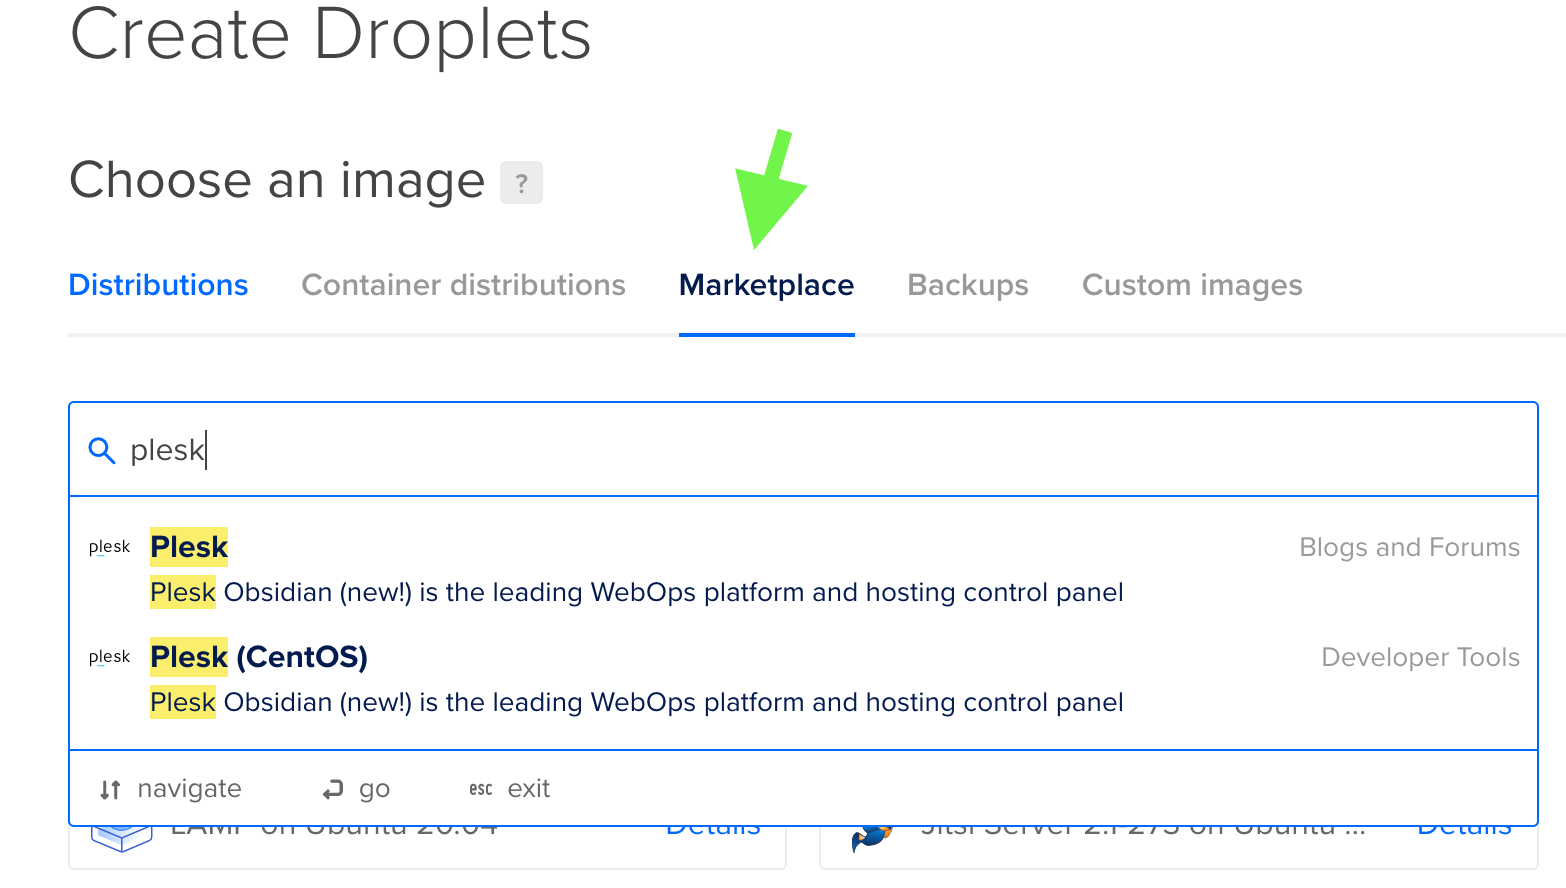
- Go to Marketplace, select Plesk

- Choose your server location, configuration, name and backup options, SSH keys
Once you have selected Plesk apps from the marketplace, you can configure different aspects of your droplet like server location, SSH keys and password for access and auto-backup options. Don’t forget to note your root password as we will be needing it at step 6 here.
- Hit on create droplet, wait until it is done and copy the public ip

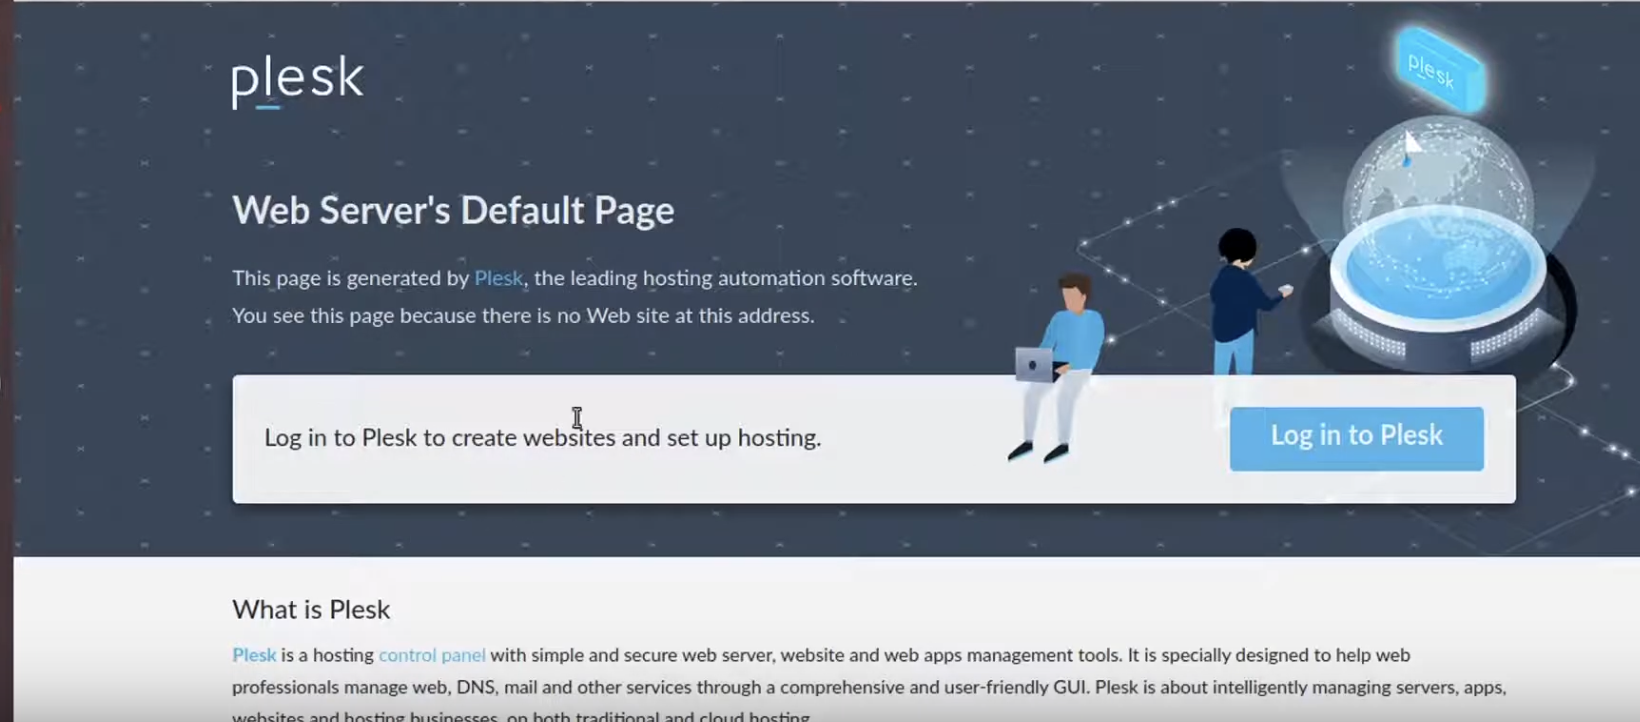
- open the public ip after droplet installation
You might get an SSL certificate warning while opening up the server address as till now we haven’t configured the SSL settings. You can proceed to visit the site by adding an exception.

- Logging in to Plesk Web admin control panel
We can log in to Plesk via SSH access or using the online admin interface. We will be using Plesk’s online panel to log in and access the control panel
To login, provide username and password as created at step 3.
username: root
password: ********* (provide your root password) - Complete the admin setup and access Plesk control panel
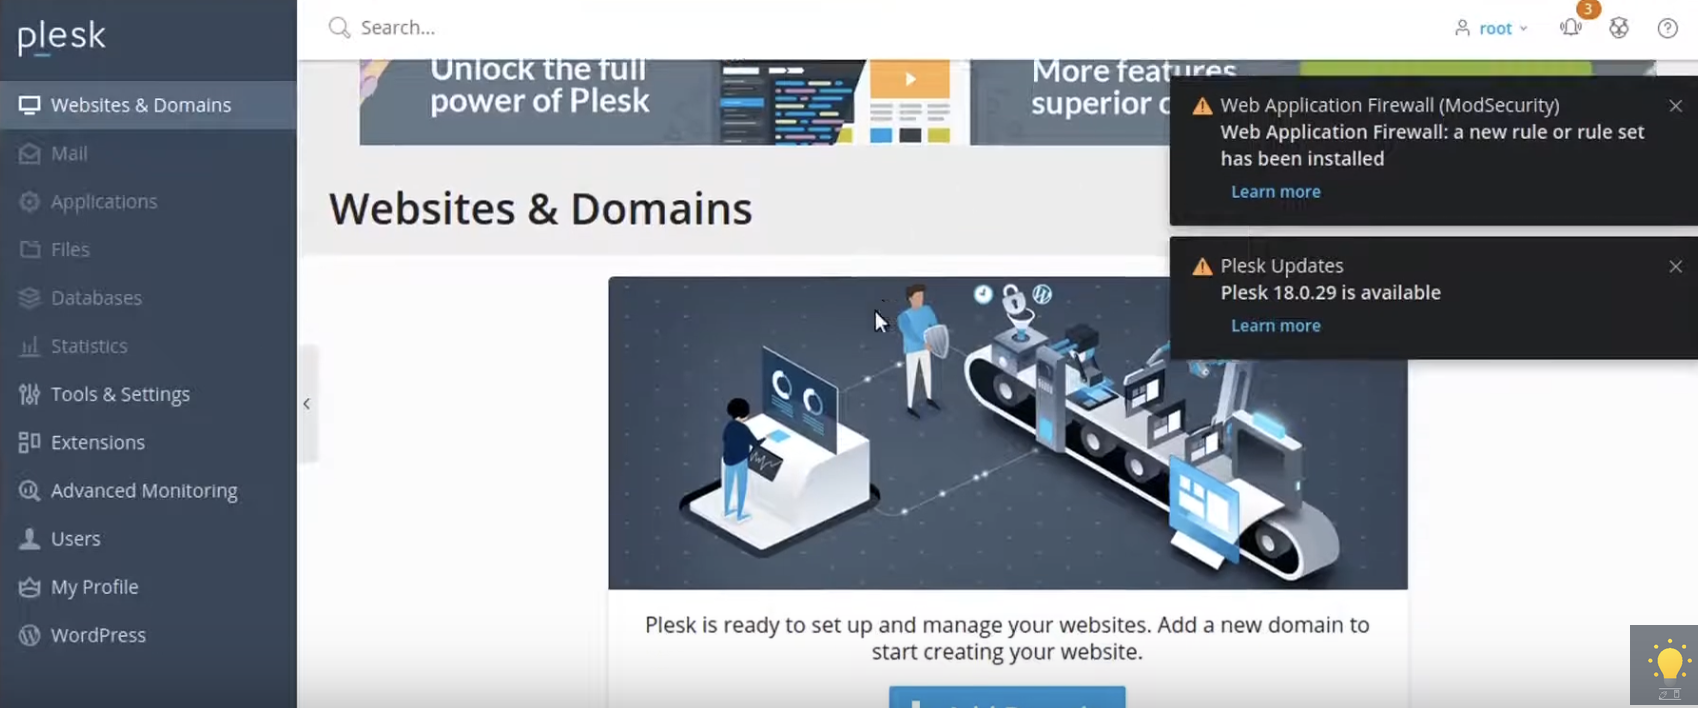
Once logged in, Plesk will ask you to complete the admin setup. This is the final step in Plesk installation. Once completed, you will be taken to the Plesk panel as shown below:

How to add and configure new domain in Plesk control panel
How to install WordPress in Plesk and setting up
Securing a Plesk website with Let’s Encrypt’s SSL certificate
How to add multiple domains and websites in Plesk?
Hosting multiple websites
Settting up back up and scheduling
I am working on this guide, please visit back soon.
Thanks 🙂


