Here you will learn how to setup a file server for your network using Onion Omega a Linux powered computer, samba and external storage. This server is accessible from different devices/ OS be it mobile or desktop. Login Credentials can also be setup for different users to prevent unwanted access.
This is just a quick note, that I have prepared after I successfully configured the Omega Server with Onion Omega 2+, Samba Server, External USB Storage. I will make this more informative with time.
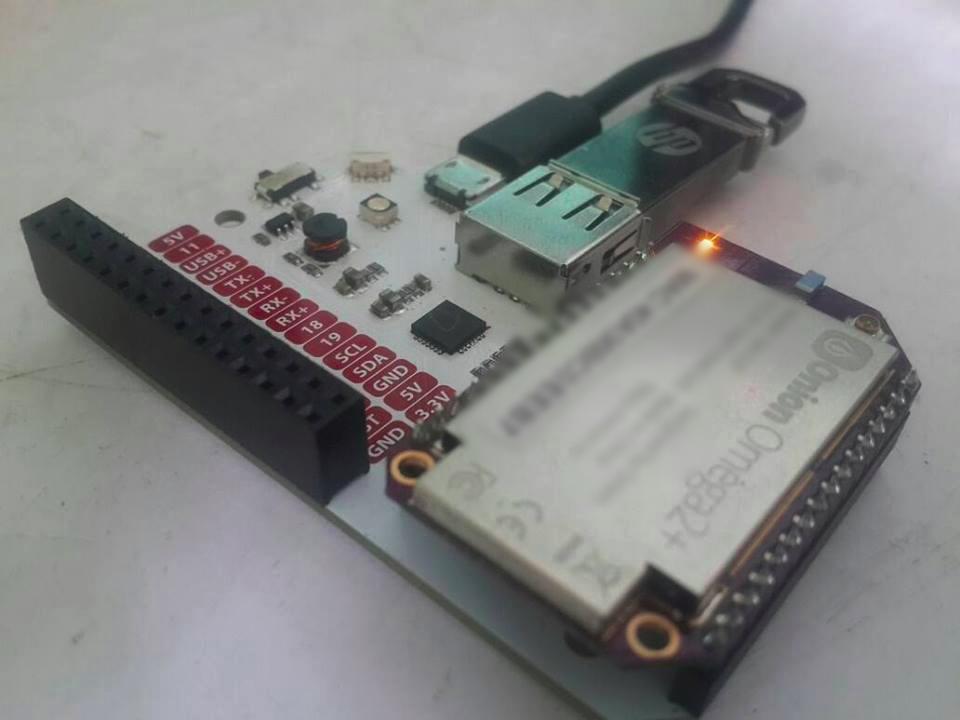
Before we begin, let us know what things I used:
Essentials
- Onion Omega 2+
- Expansion dock for powering up, and USB connection
- USB pen drive (you can use sd card too 🙂 )
- wifi connection
Okay, let us start now!
wifi setup
If you haven’t already connected your omega to your wifi network, you can do it through console’s GUI at http:192.168.3.1 or through command with CLI interface:
root@Omega-EEB7:~# wifisetupYou will get an output like:
Onion Omega Wifi Setup

Select from the following:
1) Scan for Wifi networks
2) Type network info
q) Exit

Selection: 1
Upon doing this you will be guided on screen, it will be done in a few seconds.
remember to do this you need to power up your Omega first and get connected to its wifi. If you want to know more please check onion’s documentation here on …
Setting up External Storage
Before we plug in external USB storage, or sd card lets check the output of:
ls /tmp/mountsYou might get empty since there is no storage attached. If we redo after attaching the USB device or sd card:
root@Omega-EEB7:~# ls /tmp/mounts
USB-A1
Here in USB-A1 is shown as output as our storage device has been detected.
Now lets proceed further..
Samba Software Installation on Onion Omega
In this tutorial, we are using samba server to setup our file server. Lets download them with following commands:
opkg updateto update the installed packages
opkg list | grep sambato list the available software samba packages with their version.
in my case output was:
samba36-client - 3.6.25-6 - Samba 3.6 SMB/CIFS client
samba36-server - 3.6.25-6 - The Samba software suite is a collection of programs that implements the SMB protocol for UNIX systems, allowing you to serve files and printers to Windows, NT, OS/2 and DOS clients. This protocol is sometimes also referred to as the LanManager or Netbios protocol.
Let’s install the samba##-server package with the samba version available
opkg install samba36-serverConfiguring Samba
So, we have installed samba into our omega. But it needs to get configured properly to make it work.
We need to edit few things here in two files:
i. /etc/config/samba
ii. in /etc/samba/smb.conf.template
here we go, ii. /etc/config/samba
Lets open open the samba file in vim
vi /etc/config/sambaafter opening, let us add some text at the bottom.
You might get confused if you haven’t used vim editor before. After opening the file just press i key to insert or goto edit mode.
option 'interface' 'apcli0'
Here, apcli0 is the wifi interface of our Onion Omega. We are instructing samba to listen to this interface for communication.
You can give your server a good name in name field in my case, I would give omega_server
In description, you can add descriptive text about the server. And leave rest as it is.
Now, to share a folder/directory, let us add the following chunk of codes at the bottom of our samba file:
config 'sambashare'
    option 'name'                   'serve'
    option 'path'                   '/tmp/mounts/USB-A1'
    option 'users'                  'root'
    option 'read_ only'             'no'
    option 'guest_ok'               'no'
    option 'writeable'              'yes'
    option 'browseable'             'yes'
    option 'create_mask"            '0644'
    option ' directory_mask'        '0755'
    option 'force_user'             'root'
You can give any good name to sambashare .
name is the folder that will appear in network, you can give any name
path is the path to share, here path to our usb storage
users here we are defining users so that only with valid login credentials can access our server. In our case, root is the username.
read_only defines if it is just read only
guest_ok : Guest can access or not
writeable : if the user has write access
.. likewise 😀
now, this is how my final file looks like:
config samba
    option 'name'                   'omega_server'
    option 'workgroup'              'WORKGROUP'
    option 'description'            'Omega Server'
    option 'homes'                  '1'
    option 'interface'              'apcli0'
config 'sambashare'
    option 'name'                   'serve'
    option 'path'                   '/tmp/mounts/USB-A1'
    option 'users'                  'root'
    option 'read_ only'             'no'
    option 'guest_ok'               'no'
    option 'writeable'              'yes'
    option 'browseable'             'yes'
    option 'create_mask"            '0644'
    option ' directory_mask'        '0755'
    option 'force_user'             'root'
~
~
To save the file first press Esc the key, then pressing Shift+O would generate : at the bottom of your screen then press wq , w is for write and q for quit.
ii. in /etc/samba/smb.conf.template
here lets change the value of invalid users as
invalid users = #save it!
Login Credentials for Users
We have added root user in our samba setting but haven’t setup any passwords for security.
To setup password samba has smbpasswd
smbpasswd -a rootnow, we can setup the password.
Making the Omega Server live
Since we have made some changes in the samba configuration file, lets restart our samba server with
/etc/init.d/samba restartSome useful samba commands that might be useful:
Syntax: /etc/init.d/samba [command]

Available commands:
    start   Start the service
    stop    Stop the service
    restart Restart the service
    reload  Reload configuration files (or restart if that fails)
    enable  Enable service autostart
    disable Disable service autostart
Our server is live now and ready to get explored.
Accessing the Omega Server

Accessing the server is pretty easy from any devices from any operating system
- Linux In Linux, open the Network section in file explorer where you can get different networks. If it isn’t listed there you can choose the option to connect to the server and give the address as smb://omega-####.local replace ### with last four digits of your omega’s MAC address
- Windows Open file explorer, and goto network, if you don’t see in network, go back and click on a map network drive and give the address manually
- Mobile Download ES file explorer or similar apps, and goto network section, you can add the server address, when you are logged in you can access the server and read/write to it.